The Canon EOS Digital Rebel XT (EOS 400D) represents a pivotal entry point into DSLR photography, offering a blend of affordability and capability for both beginners and enthusiasts.
This camera, despite its age, continues to be a popular choice due to its robust build, image quality, and the wealth of resources available, making a manual essential.
Digital Trends highlights the challenges in balancing simplicity for novices with advanced controls, a feat the Rebel XT achieves remarkably well, ensuring lasting relevance.
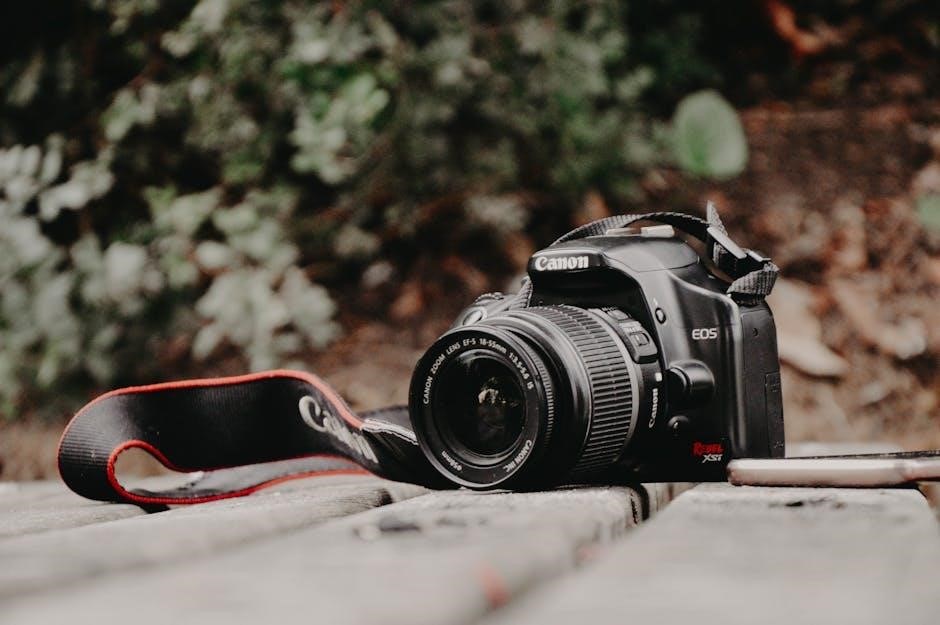
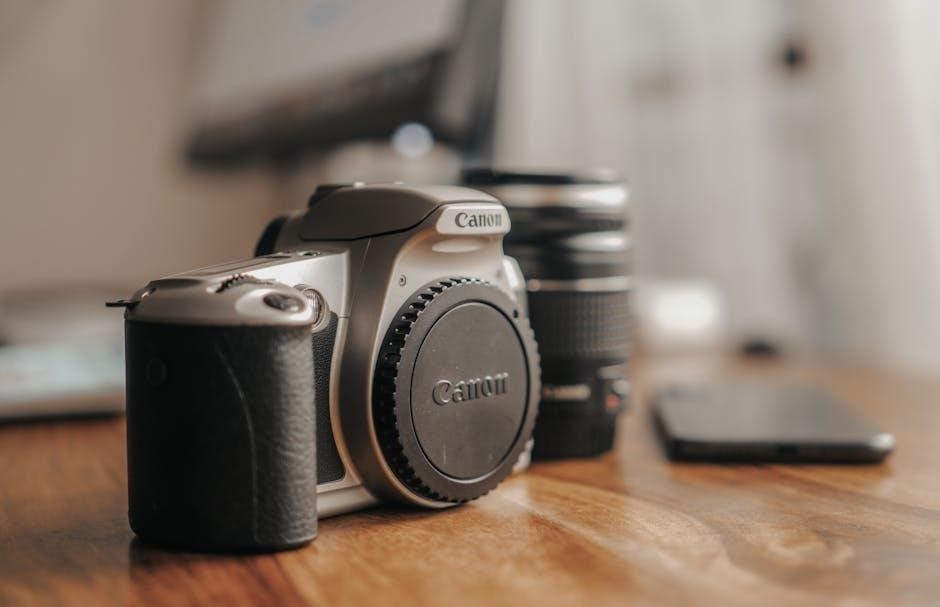
What is the Canon Rebel XT?
The Canon Rebel XT, also known as the EOS 400D, is an 8;0-megapixel digital SLR camera introduced by Canon. It quickly gained recognition for being lighter and smaller than its predecessors, making it more accessible and appealing to a wider range of photographers.
Released in 2006, the Rebel XT bridged the gap between entry-level and more advanced DSLR options. It boasts a user-friendly interface alongside a comprehensive set of features, allowing both beginners to explore photography and experienced users to fine-tune their shots.
This camera’s core strength lies in its ability to deliver high-quality images, even in challenging lighting conditions. The 8.0-megapixel sensor, combined with Canon’s image processing technology, produces detailed and vibrant photographs. Its design prioritizes ease of use, while still providing manual controls for those seeking greater creative control.
The Rebel XT’s enduring popularity is a testament to its solid performance and the extensive support network that has grown around it, making a detailed manual a valuable asset for any owner.
Why is this Manual Still Relevant?
Despite being released in 2006, the Canon Rebel XT (EOS 400D) retains a dedicated following, and a comprehensive manual remains incredibly relevant for several key reasons. Many photographers are rediscovering older DSLRs like the XT, appreciating their build quality and image capabilities without the complexity of modern cameras.
The camera’s features, while dated, are still powerful and require understanding to fully utilize. A manual provides detailed explanations of shooting modes, focusing options, and customization settings, unlocking the camera’s full potential.
Furthermore, Canon’s official support, coupled with thriving online forums and communities, demonstrates continued interest and resource availability. However, a consolidated guide simplifies the learning process, especially for those new to DSLR photography or transitioning from other systems.
This manual serves as a bridge, connecting users to a wealth of knowledge and ensuring they can confidently capture stunning images with this classic camera.

Getting Started with Your Rebel XT
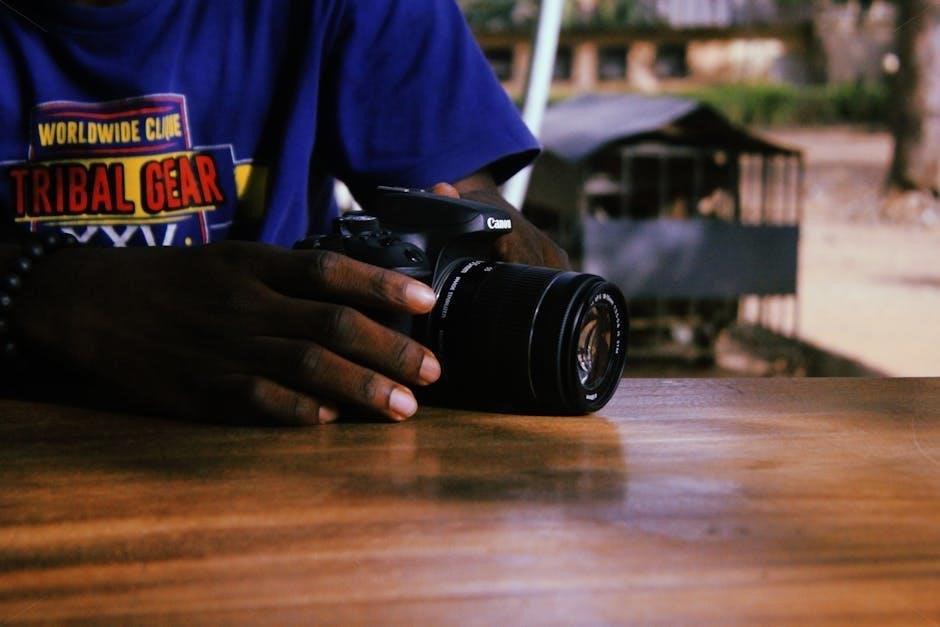
Begin your photographic journey with the Canon Rebel XT by carefully unpacking the camera and familiarizing yourself with its core components and initial setup procedures.
Unboxing and Initial Setup
Upon receiving your Canon Rebel XT, carefully open the box and verify all included components are present: the camera body, battery, battery charger, strap, and necessary cables. Inspect for any visible damage during shipping.
Insert the battery into the compartment, ensuring correct polarity. Connect the battery charger to a power outlet and fully charge the battery before first use – this typically takes a few hours. While charging, familiarize yourself with the camera’s exterior.
Install the strap securely to the designated attachment points, providing a safe grip during operation. Insert a compatible memory card (CompactFlash) into the card slot. Power on the camera and follow the on-screen prompts to set the initial language, date, and time.
Take a moment to review the included documentation for a quick overview of the camera’s features and functions before diving into more detailed settings.
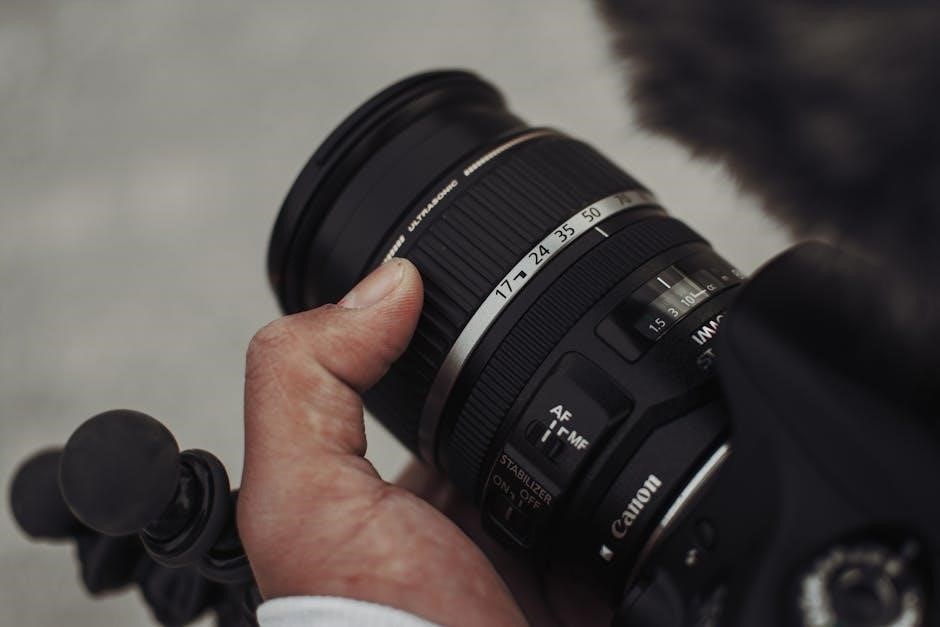
Understanding the Camera Body and Controls
The Canon Rebel XT’s body is designed for comfortable handling, despite its relatively compact size. Familiarizing yourself with its layout is crucial for efficient operation. The top panel houses the power switch, shutter button, and control dial, used for navigating menus and adjusting settings.
The rear panel features the LCD screen, directional buttons, and a dedicated button for accessing the menu system. The ‘Set’ button confirms selections. Pay attention to the function buttons, which provide quick access to frequently used features like white balance and picture style.
The mode dial allows you to select various shooting modes, from fully automatic to manual control. Understanding these modes is key to unlocking the camera’s full potential. The viewfinder provides a clear view of the scene, while the LCD screen offers live view and playback functionality.
Buttons and Dials Explained
The Main Dial, positioned on the top right, controls aperture in Aperture-Priority mode, shutter speed in Shutter-Priority, and adjusts settings within menus. The Set button confirms selections made via the directional buttons. These buttons navigate menus and change settings on the LCD screen.
The Quick Control button provides rapid access to frequently used settings like ISO, white balance, and picture style. The AF Point Selection button allows you to choose the focus point within the viewfinder; The Print/Share button handles image transfer and printing options.
The Menu button opens the camera’s comprehensive menu system, categorized for easy navigation. The Delete button, as expected, removes unwanted images. Mastering these controls allows for intuitive and efficient operation, moving beyond automatic modes and unlocking creative control.
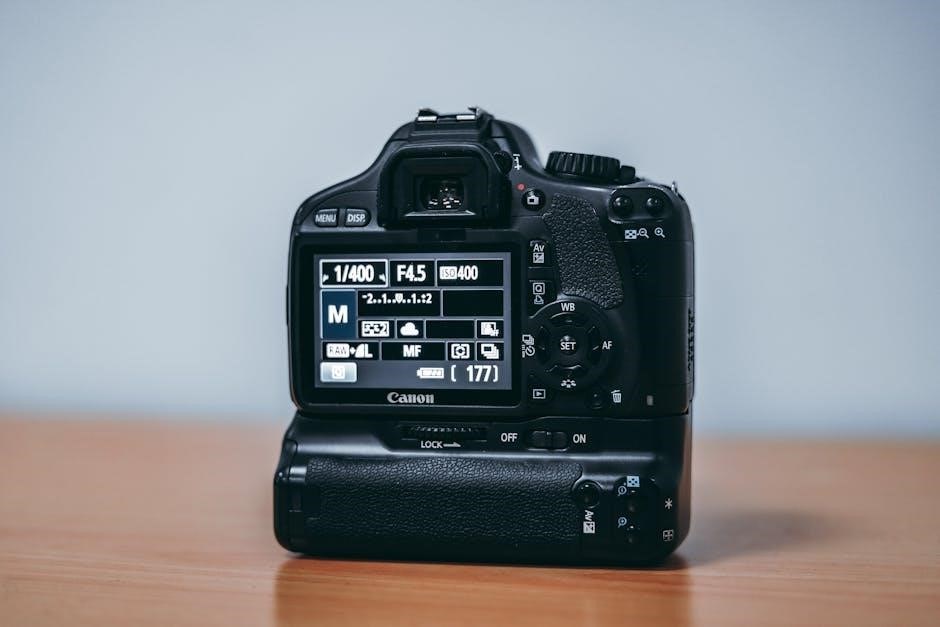
Viewfinder and LCD Screen Overview
The optical viewfinder offers a clear, real-time view of your subject, displaying focus points and basic shooting information. It’s crucial for composing shots in bright sunlight where the LCD screen can be difficult to see. The LCD screen, located on the back, provides a larger, more detailed view for reviewing images and navigating menus.
During Live View mode, the LCD displays a direct feed from the sensor, enabling precise composition and manual focusing. However, Live View can consume more battery power. The viewfinder displays essential settings like shutter speed, aperture, and ISO, allowing quick adjustments without looking away from your subject.
Understanding both the viewfinder and LCD screen is vital for maximizing the Rebel XT’s capabilities, adapting to different shooting conditions, and achieving optimal results.
Basic Photography with the Rebel XT
Mastering the Rebel XT’s fundamentals unlocks creative potential, utilizing shooting modes, focusing techniques, and ISO settings to capture stunning images with ease and precision.
Shooting Modes: Auto, Program, Aperture-Priority, Shutter-Priority, Manual
The Canon Rebel XT offers a versatile range of shooting modes to accommodate various skill levels and photographic scenarios. Auto mode simplifies operation, letting the camera handle all settings – ideal for beginners. Program mode (P) allows some control, like ISO and white balance, while the camera manages aperture and shutter speed.
For greater creative control, explore Aperture-Priority (Av), where you set the aperture (f-stop) to control depth of field, and the camera determines shutter speed. Conversely, Shutter-Priority (Tv) lets you choose the shutter speed to freeze motion or create blur, with the camera adjusting the aperture.
Finally, Manual (M) mode grants complete control over both aperture and shutter speed, offering the ultimate flexibility for experienced photographers. Understanding these modes is crucial for progressing beyond automatic settings and achieving desired photographic effects. Experimenting with each mode will help you grasp the relationship between aperture, shutter speed, and ISO, leading to more intentional and artistic images.
Focusing Modes: One-Shot, AI Servo, AI Focus
The Canon Rebel XT provides three primary autofocus (AF) modes designed for different shooting situations. One-Shot AF is best for stationary subjects; the camera focuses when you half-press the shutter button and locks focus until you shoot. This is perfect for landscapes, portraits, and anything not moving.
AI Servo AF is tailored for tracking moving subjects. The camera continuously adjusts focus as long as you hold the shutter button halfway down, ensuring sharp images of running athletes, wildlife, or children.
AI Focus AF intelligently switches between One-Shot and AI Servo, attempting to detect subject movement and automatically selecting the appropriate mode. While convenient, it can sometimes be less reliable than manually choosing the correct AF mode. Mastering these focusing modes is essential for capturing sharp, in-focus images in a variety of scenarios, allowing you to confidently photograph both still and dynamic subjects.
Understanding ISO Settings
ISO controls your camera’s sensitivity to light. A lower ISO (like 100 or 200) means less sensitivity, requiring more light for a proper exposure, but resulting in cleaner images with less noise. This is ideal for bright, outdoor conditions.
Higher ISO settings (like 800, 1600, or 3200) increase sensitivity, allowing you to shoot in darker environments without a flash. However, increasing the ISO also introduces more digital noise, which can appear as graininess in your photos.
The Rebel XT’s ISO range allows for flexibility, but it’s crucial to find a balance between brightness and image quality. Experiment to determine the highest ISO you can use while still achieving acceptable results. Understanding ISO is fundamental to achieving properly exposed and visually appealing photographs in diverse lighting conditions, maximizing the camera’s potential.
Advanced Features and Settings
Delve into customization options to tailor the Rebel XT to your shooting style, including white balance and picture styles for refined image control and creativity.
Customizing Camera Settings
The Canon Rebel XT’s menu system, while initially appearing complex, unlocks a world of personalization. Begin by exploring the ‘Custom Functions’ (CF) menu, allowing you to reassign button functions for quicker access to frequently used settings. This is particularly useful for adjusting shooting modes or focusing operations on the fly.
Within the menu, navigate to ‘Picture Style’ to fine-tune image characteristics. Experiment with ‘Standard’, ‘Portrait’, ‘Landscape’, ‘Neutral’, and ‘Faithful’ presets, or create a custom style to match your aesthetic preferences. Adjust sharpness, contrast, saturation, and color tone to achieve your desired look directly in-camera.
Don’t overlook the ‘Auto Lighting Optimizer’ (ALO) setting, which can subtly enhance shadow detail in high-contrast scenes. However, use it judiciously, as excessive ALO can introduce unwanted artifacts. Finally, explore the ‘Quality’ settings to select your desired image resolution and compression level, balancing file size with image detail.
White Balance Adjustment
Achieving accurate colors is crucial, and the Canon Rebel XT offers several white balance (WB) options. ‘Auto White Balance’ (AWB) is convenient for general shooting, but can sometimes produce inaccurate results, especially under mixed or artificial lighting.
For more precise control, select from presets like ‘Daylight’, ‘Cloudy’, ‘Shade’, ‘Tungsten’, and ‘Fluorescent’. Experiment with these to find the setting that best matches your lighting conditions. The Rebel XT also allows for ‘Custom’ WB adjustment.
To set a custom WB, photograph a white or gray card under the prevailing light, then use the card’s reading to calibrate the camera. This ensures accurate color rendition. Remember to check your WB setting regularly, as changing light sources necessitate adjustments. Incorrect WB can lead to unwanted color casts, impacting image quality.
Picture Style Options
Canon’s Picture Styles allow you to customize the look of your images directly within the camera. These presets influence contrast, sharpness, color saturation, and tone. The Rebel XT offers options like ‘Standard’, ‘Portrait’, ‘Landscape’, ‘Neutral’, and ‘Faithful’.
‘Standard’ is a versatile all-purpose setting, while ‘Portrait’ prioritizes skin tones. ‘Landscape’ enhances blues and greens for vibrant outdoor scenes. ‘Neutral’ provides a flatter profile, ideal for post-processing, and ‘Faithful’ aims for accurate color reproduction.
You can further refine these styles by adjusting the individual parameters – sharpness, contrast, color saturation, and tone – to create a personalized look. Experimenting with Picture Styles is a non-destructive way to achieve your desired aesthetic. Saving custom Picture Styles allows for consistent results across your photography.

Troubleshooting Common Issues
Addressing typical problems with the Rebel XT, like blurry images or incorrect exposure, is crucial for maximizing your photographic experience and achieving desired results.
Dealing with Blurry Photos
Blurry photos are a common frustration, especially for beginners. Several factors contribute to this issue with the Canon Rebel XT. First, shutter speed is critical; if it’s too slow, even slight camera movement results in motion blur. Ensure your shutter speed is sufficiently fast for the focal length you’re using – a general rule is 1/focal length (e.g., 1/50th for a 50mm lens).
Focusing errors are another frequent cause. Confirm you’re in the correct focusing mode (One-Shot for stationary subjects, AI Servo for moving ones) and that the focus point is accurately placed on your subject. Double-check the viewfinder to ensure sharp focus before pressing the shutter.
Camera shake can also induce blur. Utilize a tripod, especially in low light, to stabilize the camera. If handholding, employ proper technique – brace yourself, hold the camera firmly, and exhale slowly as you press the shutter. Finally, remember that a shallow depth of field, achieved with a wide aperture, can intentionally create blur, but ensure it’s the artistic effect you desire.
Fixing Exposure Problems
Incorrect exposure leads to photos that are too dark (underexposed) or too bright (overexposed). The Canon Rebel XT offers several tools to address this. Begin by understanding the exposure triangle: aperture, shutter speed, and ISO. Adjusting any of these impacts brightness.
If photos are consistently too dark, increase the ISO (but be mindful of noise), widen the aperture (lower f-number), or slow down the shutter speed. Conversely, for overexposed images, decrease ISO, narrow the aperture (higher f-number), or increase shutter speed.
Utilize the Rebel XT’s histogram – a graph displaying tonal distribution – to assess exposure accurately. A histogram skewed to the left indicates underexposure, while one skewed to the right suggests overexposure. Experiment with the camera’s exposure compensation feature for quick adjustments. Remember that challenging lighting conditions often require manual adjustments for optimal results.
Battery Life and Power Management
Maximizing battery life is crucial when using the Canon Rebel XT, especially during extended shoots. The camera utilizes the Canon LP-E5 battery pack. Expect approximately 500 shots on a full charge under typical usage, but this varies significantly based on settings and features used.
Live View mode and frequent LCD screen use dramatically reduce battery life. Minimize these when possible. Utilize the optical viewfinder for composing shots. Enable the Auto Power Off function in the camera’s menu to conserve energy during inactivity.
Consider investing in a spare battery, particularly for travel or long events. Avoid exposing the battery to extreme temperatures. Fully charge the battery before use and store it properly when not in use to prolong its lifespan. Regularly check the battery indicator on the LCD screen.
Resources and Further Learning
Expand your knowledge with Canon’s official support website for detailed manuals and FAQs. Explore online forums and communities for shared experiences and troubleshooting tips.
Canon’s Official Support Website
Canon provides a comprehensive online resource dedicated to supporting its extensive product line, and the Rebel XT (EOS 400D) is no exception. Visiting the official Canon support website is the first step towards resolving any questions or issues you might encounter while using your camera.
Here, you’ll find a downloadable version of the complete Canon Rebel XT instruction manual in PDF format, offering detailed explanations of every feature, function, and setting. Beyond the main manual, Canon often provides supplementary materials like software and driver updates to ensure optimal performance and compatibility with modern operating systems.
The website also features a robust FAQ section addressing common user inquiries, troubleshooting guides for resolving typical problems, and access to Canon’s customer support team should you require personalized assistance. Regularly checking this site for updates and resources will significantly enhance your Rebel XT experience and help you unlock its full potential. It’s a vital hub for all things Rebel XT!
Online Forums and Communities
Beyond Canon’s official resources, a vibrant ecosystem of online forums and communities exists, dedicated to the Canon Rebel XT (EOS 400D) and DSLR photography in general. These platforms offer a wealth of user-generated knowledge, practical advice, and troubleshooting assistance that complements the official manual.
Websites like photography-specific forums and Reddit’s photography subreddits are excellent places to connect with fellow Rebel XT owners, share experiences, ask questions, and learn from others’ expertise. You’ll find discussions covering everything from basic operation to advanced techniques, lens recommendations, and creative inspiration.
These communities often feature detailed tutorials, image critiques, and solutions to problems not explicitly addressed in the manual. Engaging with these online resources can significantly accelerate your learning curve and help you master your Rebel XT, fostering a collaborative learning environment for all skill levels.
Leave a Reply